
Today I’m sharing all the details on my 2020 Extreme Master Bedroom Makeover DIY Board & Batten Wall. This blog is actually a part of a series, so make sure to follow along to see the entire process from start to finish. This was a relatively simple project that I completed in one day, for less than $70!
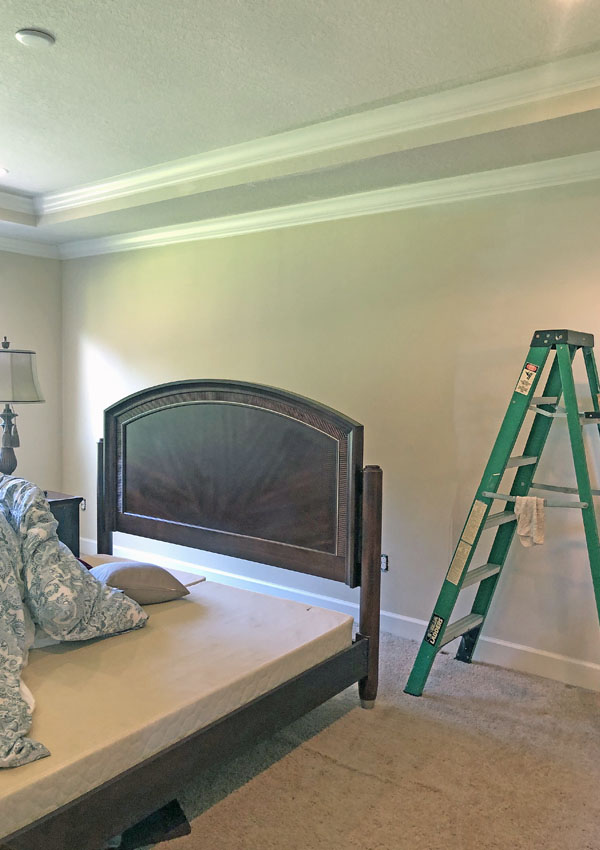
If you’ve been following along on my YouTube channel, then you know that we are finally styling our master bedroom. This is truly an Extreme Master Bedroom Makeover that included a DIY Board & Batten Wall, new lighting, new flooring and updated bedroom furniture. Here’s a look at the before:
I will usually do some sort of creative stencil on accent walls in our home. But I really wanted something more sophisticated for our master bedroom. After a coffee and Pinterest session one morning, I decided to go with Board & Batten for the accent wall. Here is what my original design looked like.
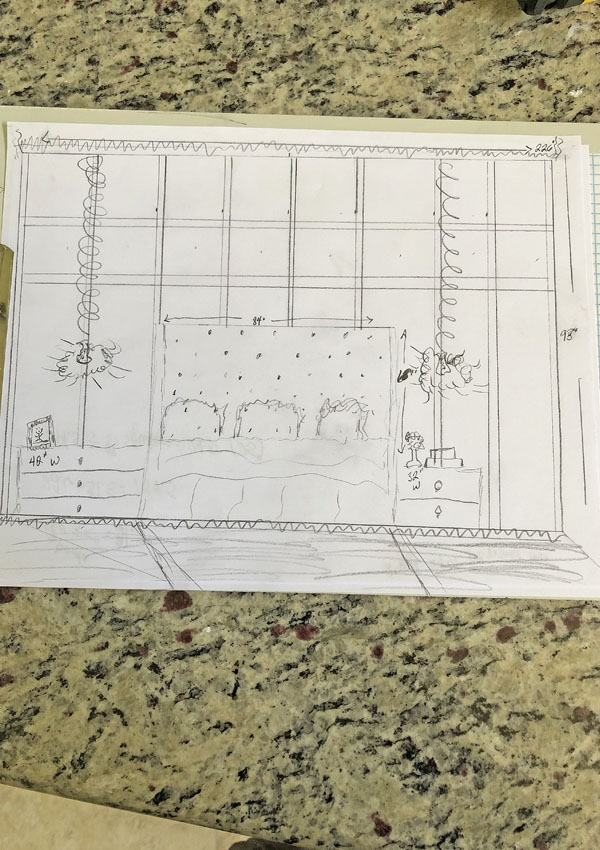
The wall is really long, and I didn’t want it to look too busy, so I decided on 3 boxes in each horizontal row, and 8 squares across. To figure out how to evenly space out the boards, I had to do some creative math. First I guesstimated the number of boards I would need to create 8 squares across. I guessed 8, but it ended up being 9. I multiplied 9(boards) x 4(inches in width) which equaled 36in. I subtracted 36″ from the width of the wall of 226″. 226″ – 36″ = 190″. 190″ divided by 8 squares equals 23.75″, or how much space needed to be in between each board. Confused yet? There was probably an easier way. But I was an English major…you do the math. 😉
The math worked out perfectly though. Once I had the spacing figured out, it was time to go get the MDF boards. I wanted to have large boards cut down to size, but they told me it couldn’t be done, and that the MDF would rip to shreds. So I went over to look at the Primed MDF boards. There were two problems. First, they were almost $10 each, and that was WAY more than I’d planned on spending. Secondly, the pre-cut primed boards did not measure out to be a full 4” wide. So after I made a bit of a fuss, I got the original MDF board cut down to size…and it did NOT rip to shreds. Total spend on MDF boards, $52!
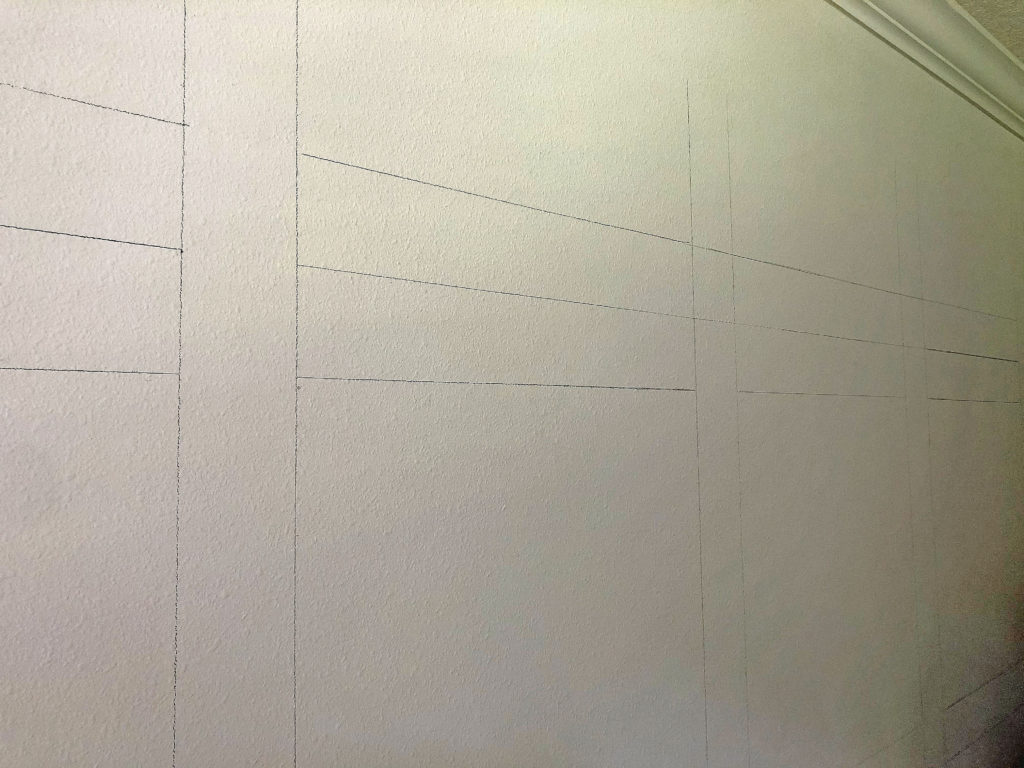
Once we got back home, I mapped out the project with a pencil on my freshly painted walls. It wasn’t necessary, but I wanted to get a really good visual of what everything would look like. After I finished my map, I started installing the vertical boards first, because less cutting was involved.
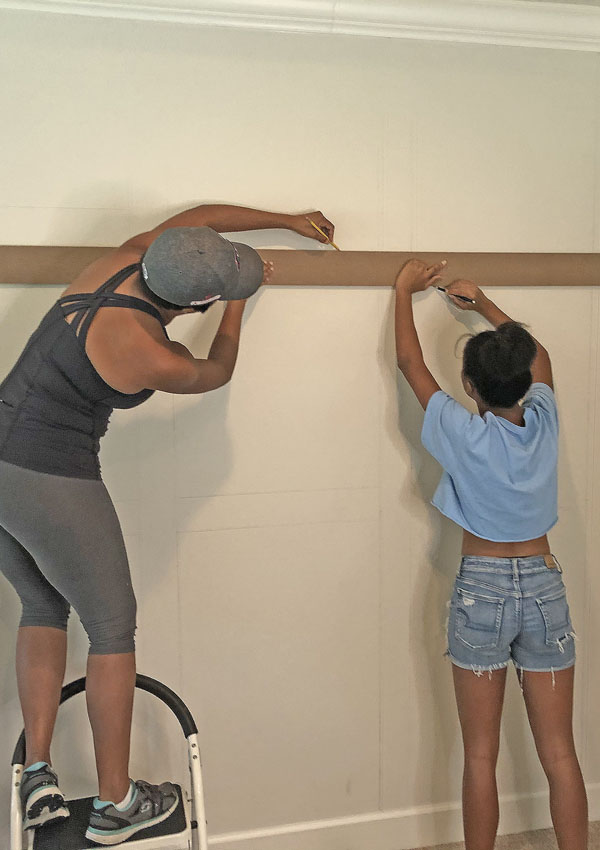
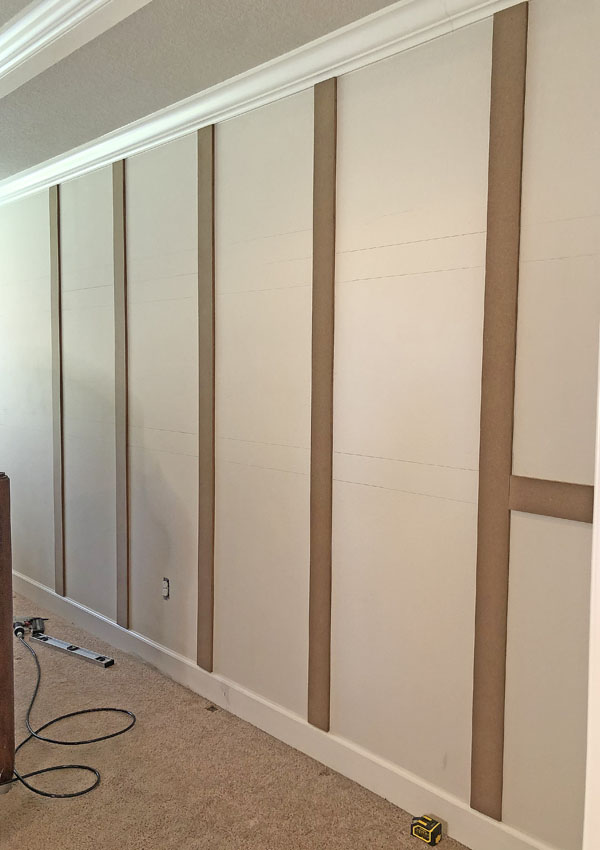
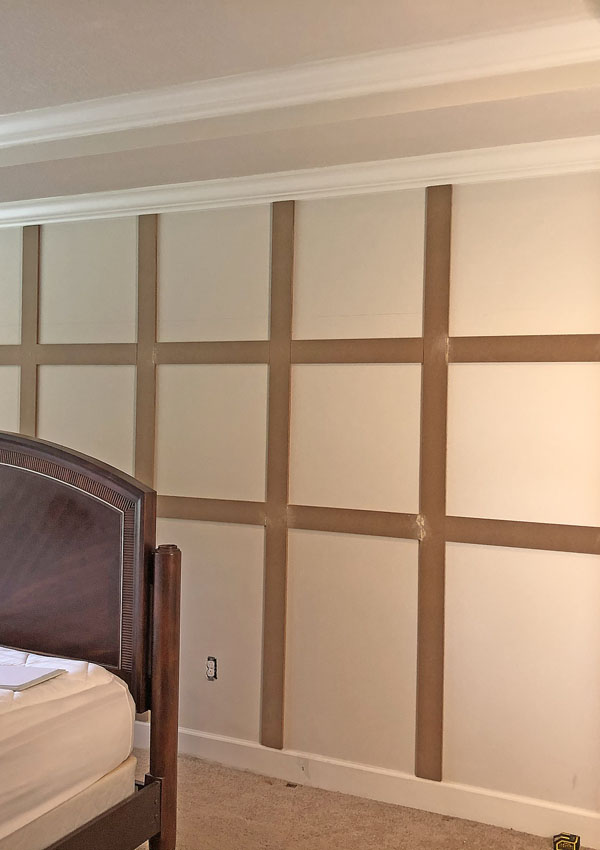
After the vertical boards were installed, I moved on to the horizontal boards. Thankfully I didn’t precut all of them based on my original measurements…a few of them needed a tiny bit more, or tiny bit less to be cut.
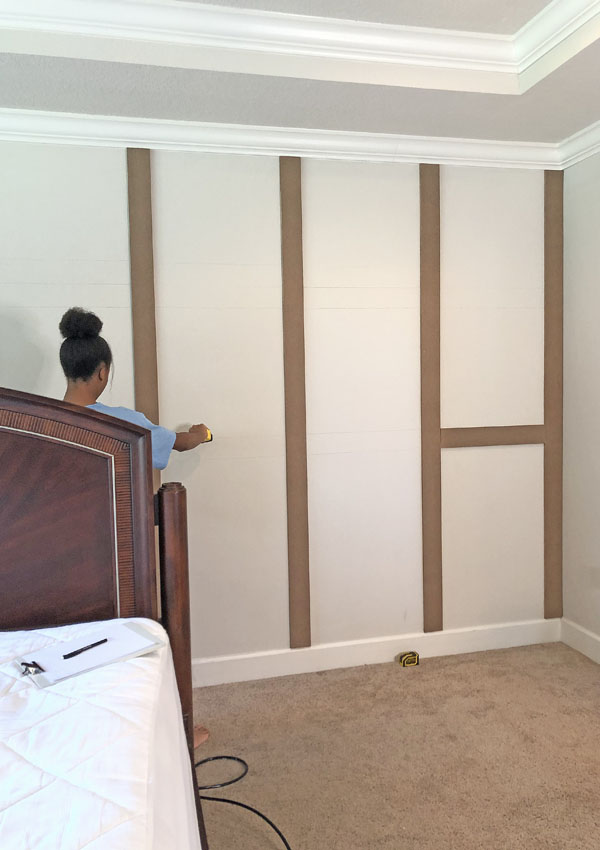
If you prefer, you can use wood glue to help secure your boards to the wall. But I opted to only use a nail gun. That way if I wanted to change the wall later, it would be a little bit easier to remove the boards.
I finished up by filled in any gaps and nail holes with wood filler, I painted, and then caulked. Don’t skip the caulking step. The wall looked SO MUCH more detailed and finished once I caulked it all. Makes a huge difference.
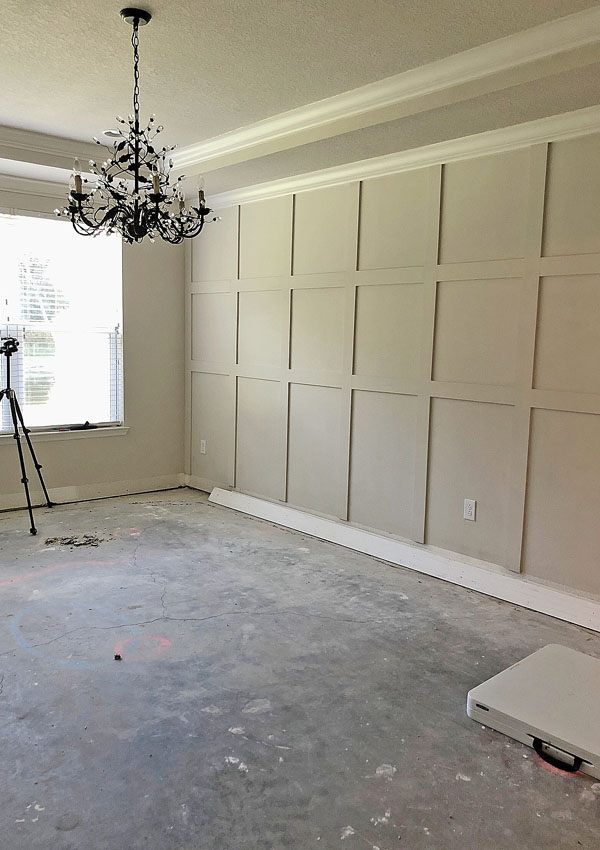
Over all, including the wood filler and caulk, I spent a little less than $70 total. And I finished the project in ONE DAY! I’m really excited about that way it all turned out. And I’d like to encourage you, if you’ve never taken on a DIY Board & Batten Wall like this…YOU CAN DO IT!
I hope to see you back for the next version of this project. Below is a list of everything I used.
Materials I Used For Project
- Level
- 1/2 thick MDF cut down into 4 x 8
- Nail Gun & Brad Nails
- Saw for additional cuts
- Wood filler & caulk
- Paint
Thanks for stopping by! Click below to watch a full video tutorial of the entire process. And until next time, Love & peace
Hi Mell. A few weeks ago I was about to spend hundreds of dollars trying to replicate a wall like this and I backed down from it because I didn’t want to spend the money and because of the math. I was afraid to get the measurements wrong. If you can please tell me how you did the math to divide the boxes I would appreciate it. Thank you
Where is the info on the fireplace?
I’m seeking the type/name of the tile/stone that you used
Beautiful! What color paint did you use?
I loved your video on your Master bedroom!!! Guess what we are doing today!!! We have subscribed!!